
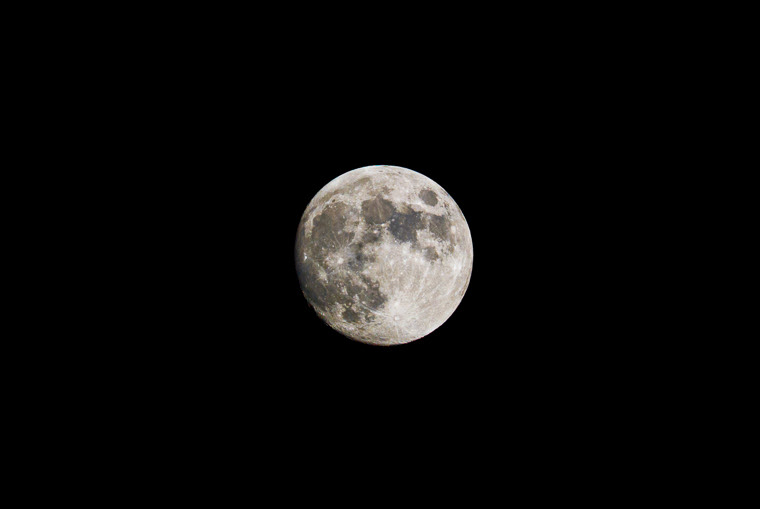
Shot with a Pentax K-m in 2011
Exposure 1/1000
ISO 100
Lens was an Orion ED80T-CF
I've been thinking quite hard about how to go about introducing people to Astrophotography. In the end I think it would be easiest to just get you out shooting with a few tips to start. Since we just had the total eclipse of the moon, and we're also just past the full moon, I think it would be a great time to start off our Astrophotography by shooting the Moon .
Hopefully everyone has a DSLR as this will make things quite a bit easier. It is not necessary, but I've found it's easier for the following reason. I always shoot the moon in manual mode. YES THAT'S RIGHT!!! You will have to become comfortable with shooting in manual. The good thing about this is that you'll quickly find that knowing your camera and how to shoot in manual will help you in your other forms of photography. Most point and shoot cameras also have a manual mode, but I am not familiar with their operation and will not be able to be of much assistance (that is what your manual and the Internet is for)
Things you will need for this tutorial
- Camera
- Lens (zoom or telephoto if possible)
- Tripod (to keep the camera steady)
- Some sort of program to do some editing (Photoshop, Gimp, etc)
Since our first target is the moon, we should talk about it a little bit.
We will be using ISO 100 to photograph the moon, and an aperture somewhere in the middle of the lens' range. The only reason I'm suggesting an aperture in the middle is that, depending on the lens you are using, the middle aperture settings will usually be the sharpest. Another request from myself, is that you shoot in RAW not JPEG.
I've found that the best time of day to shoot the moon is either within the first half hour after the sun sets, or about half an hour before the sun rises. This will give you better contrast between the lights and darks. The mountain peaks and craters will show up better.
Another good tip is to either use the shutter delay, or mirror lockup. This will help keep the camera rock solid and will give you better details in the moon.
The most common mistake when shooting the moon is that we sometimes forget where the actual light source is from.... Think of photographing the moon like this.... You're standing in a very dark room and you are photographing a subject out of the window of that room. Outside is very bright!!!
You'd never ever do a long exposure just because you are in a dark room... it's the subject that you set your exposure for the moon is visible due to reflected sunlight.
With that being said, always set your camera to manual.
Next when shooting the moon to get the exposure correct one of the tricks that I use it to set the camera to "Spot Metering", that way it will get the correct metering for the moon. When in manual mode you should have a function on the camera that will suggest the correct metering. If you switch to aperture priority, point the camera directly at the moon and note what the shutter speed is. Once you've noted the shutter speed set your camera back to manual and set the shutter speed two speeds faster (underexpose) then it showed in aperture priority. This will allow us to capture details in both the shadows and the highlights of the moon. Remember, it is a reflection from the sun.
Once you've taken a shot or two, take a look at the photo on your preview, it should look a little on the dark side, don't worry about that, we can bring up details and brighten it up in post processing. The key is that nothing is (blown out on the histogram).
Please feel free to ask questions on this post.
I can be contacted at dvgzx2@gmail.com